PRISM 3 ESPI Stress Measurement
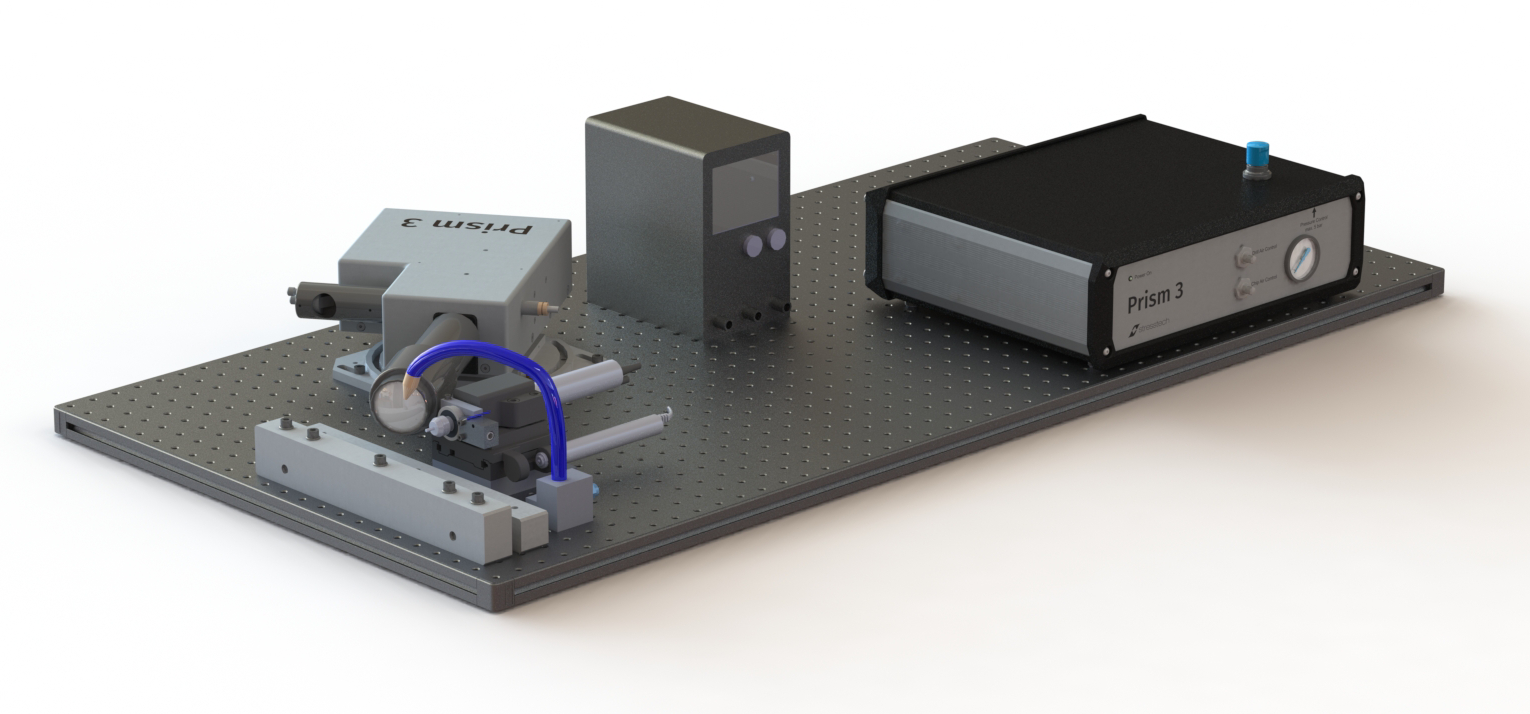
The next generation ESPI hole drilling system for residual stress measurement, Prism 3, will be launched in the year 2022. The new system incorporates a compact, fully integrated laser and camera system with no external optical fibers. Prism 3 will replace the current Prism system.
The basic measurement principle is identical to any conventional strain gage hole-drilling system, requiring precise measurement of very small dislocations in the part surface. Those dislocations are released by drilling a hole in a non-stress-free body, which will result in a new stress-equilibrium with a shift of specimen´s surface in the close vicinity of the hole. Prism Software analyses by digital image correlation these dislocations and calculates the previously existing residual stresses.
Prism technology surpasses the conventional, time-consuming technique of applying strain gages by gluing them to specimen´s surface, involving various uncertainties which can lead to wrong measurement results. No tiny wires need to be soldered and connected to an amplifier device.
Furthermore, the ESPI technology analyzes a much larger area (shaped like a circular ring around the hole), compared to just a few areas like strain gage systems do. The operator can select the inner and outer radius of the ring area for his analysis, also after the measurement has been completed. For most samples, no or only minimal surface preparation is required.
Prism’s software manages the complete measurement, collects the data and analyses the results and data quality.
Key benefits
- Minimal preparation: Only a clean measurement surface with low-reflectivity is required. (If reflectivity is high, a simple, thin spray painting prepares the surface for measurement).
- Non-contact: Measurement requires just a direct visual path to part; no strain gages need to be applied.
- Fast: An extensive stress depth-profile with many increments can be obtained within ½ hour.
- Automated: Once started, depth profile generation runs automatically.
- Large area analyzed: Full area around the hole is analyzed. Area size can be adjusted by operator also after the measurement.
- Defined drill speed: A very high precision electric drill is applied, providing full control over drill speed and drill feed.
- Depending on material condition a proper selection of these parameters is required to avoid unwanted thermal or mechanical effects to the hole.
- User friendly: Easy-to-use Windows based software.
- Easy: Computer controlled, automatic measurement.
- Materials: All materials allowing to be precisely machined by a drill can be analyzed. This includes also non-crystalline materials, and materials which may be difficult to be analyzed by X-Ray-diffraction (XRD) due to very coarse grain or prominent crystallographic texture.


